Installation
1. Unzip the downloaded file#
After upzipping the product file, you'll see 2 folders:

The "myhash" folder is the product folder when "node" folder is the Node.js folder which you use to build the app into production.
2. Create Firebase Project and Database#
Create Firebase Project#
First, you need to create a firebase project. Go to the following link: Firebase Console and login with your gmail account:
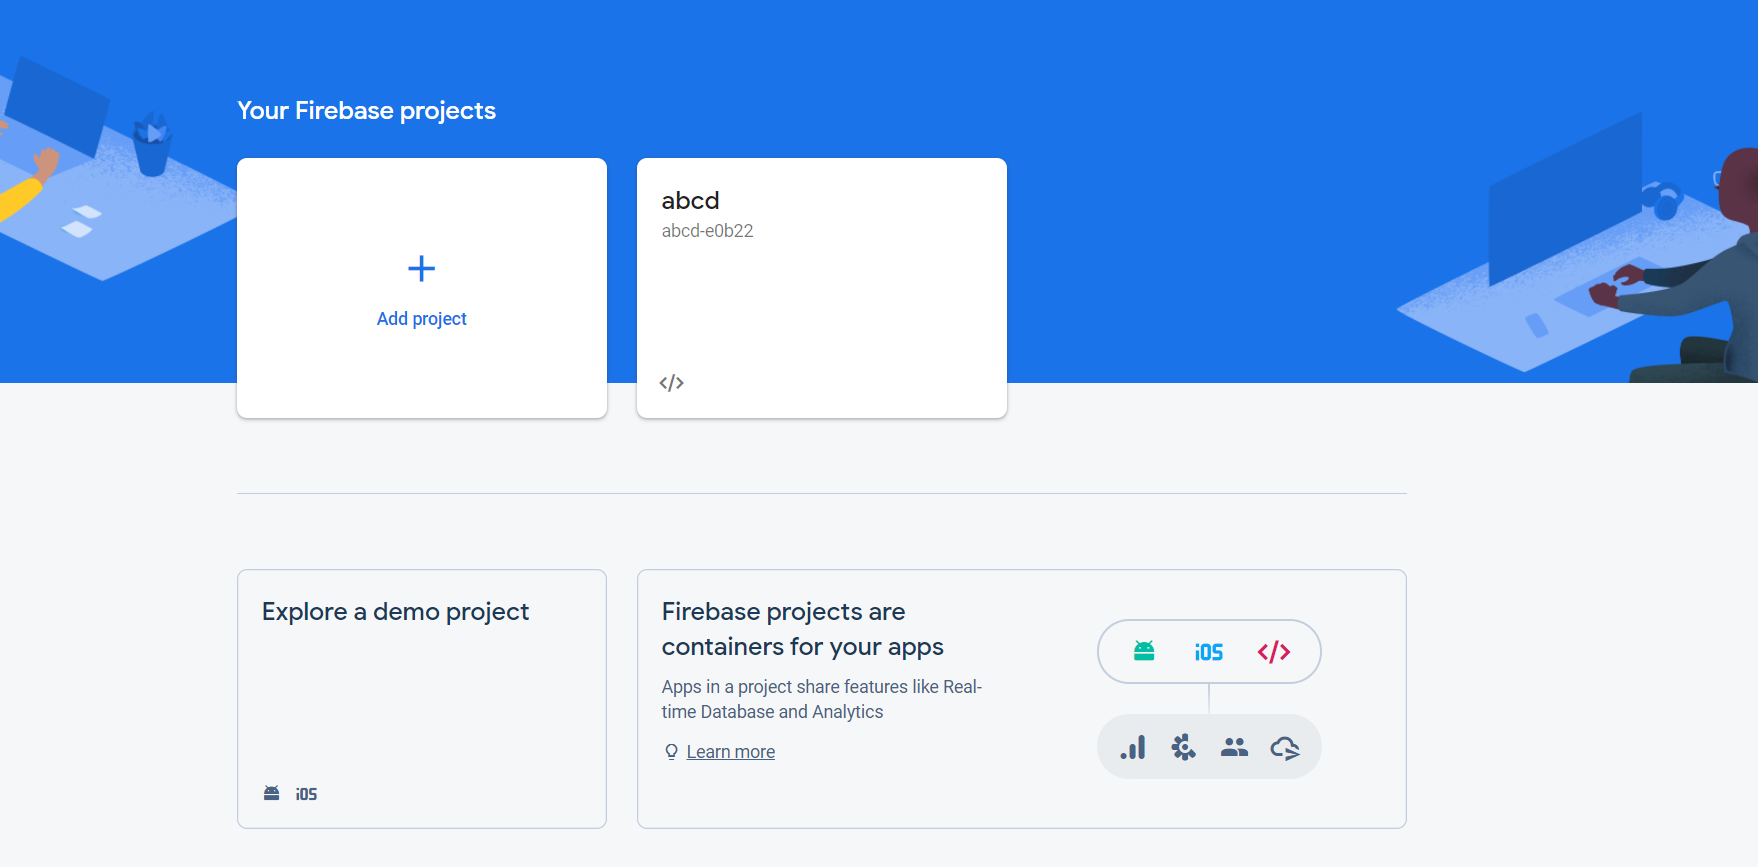
Click the "Add project" button:

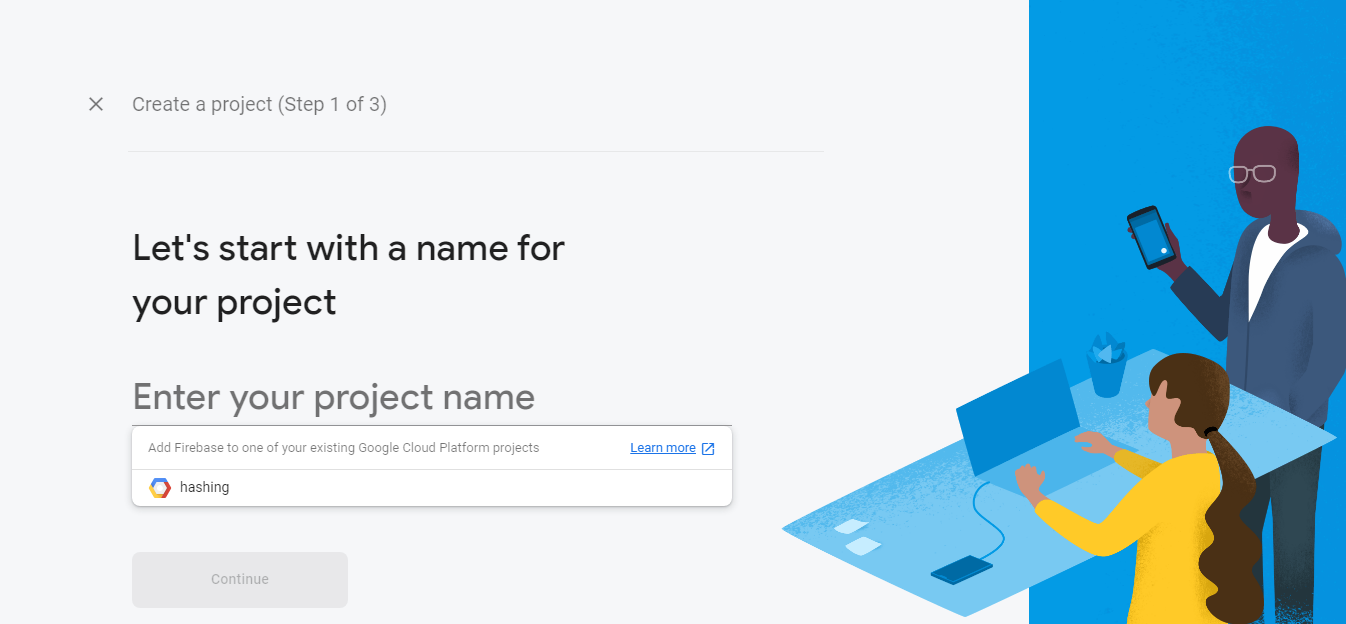
Enter your project's name, then click "Continue":
Enable Google Analytics for this project if you already have Google Analytics Account, for this case, I'll disable it:

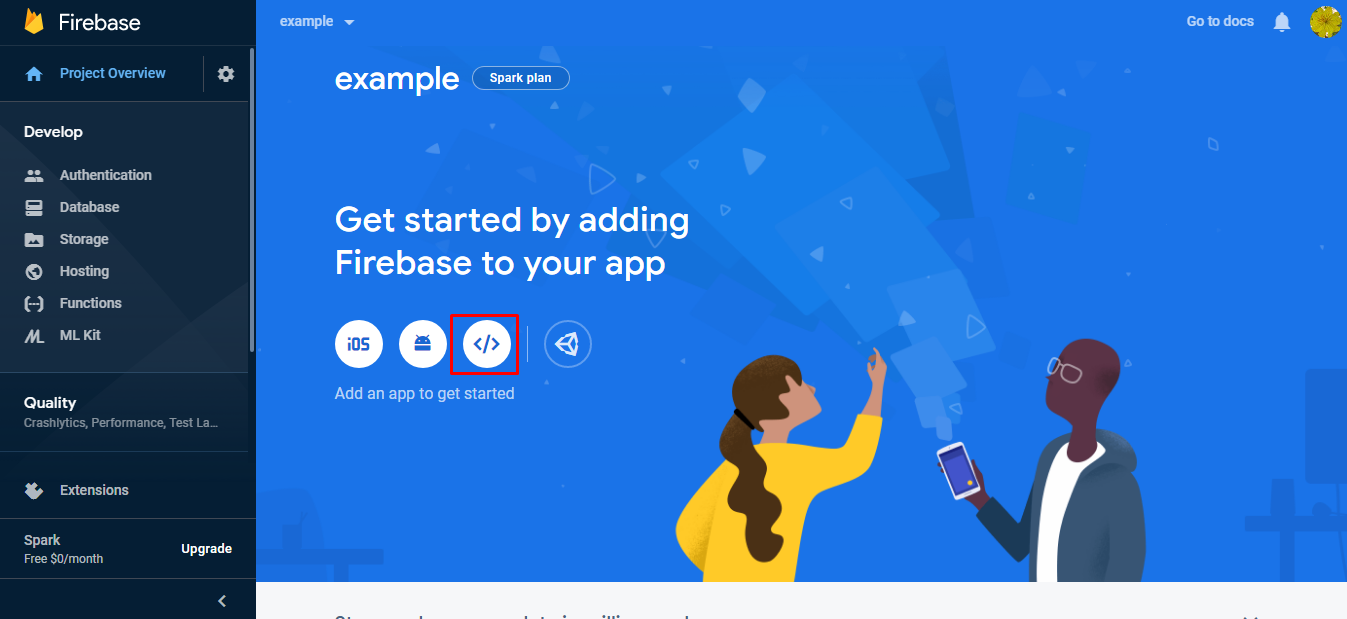
Create Firebase Web App#
Wait a moment, after the project is created, click the Web button on the Dashboard screen:
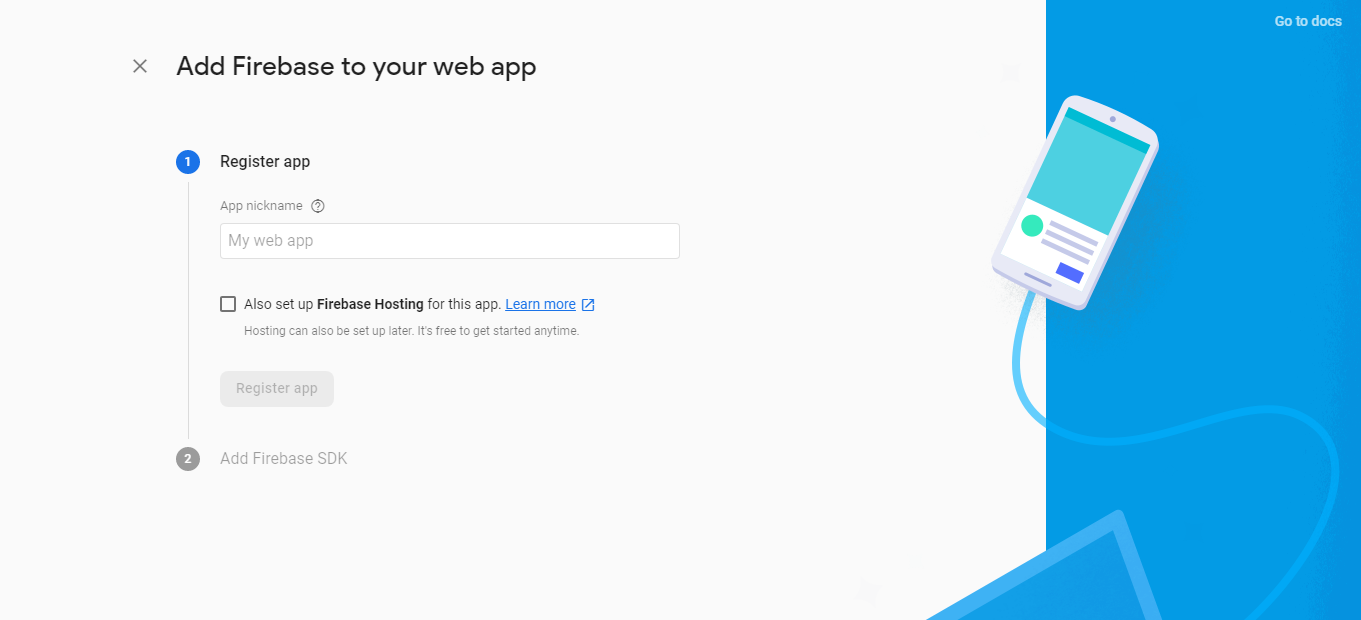
Enter your app's name:
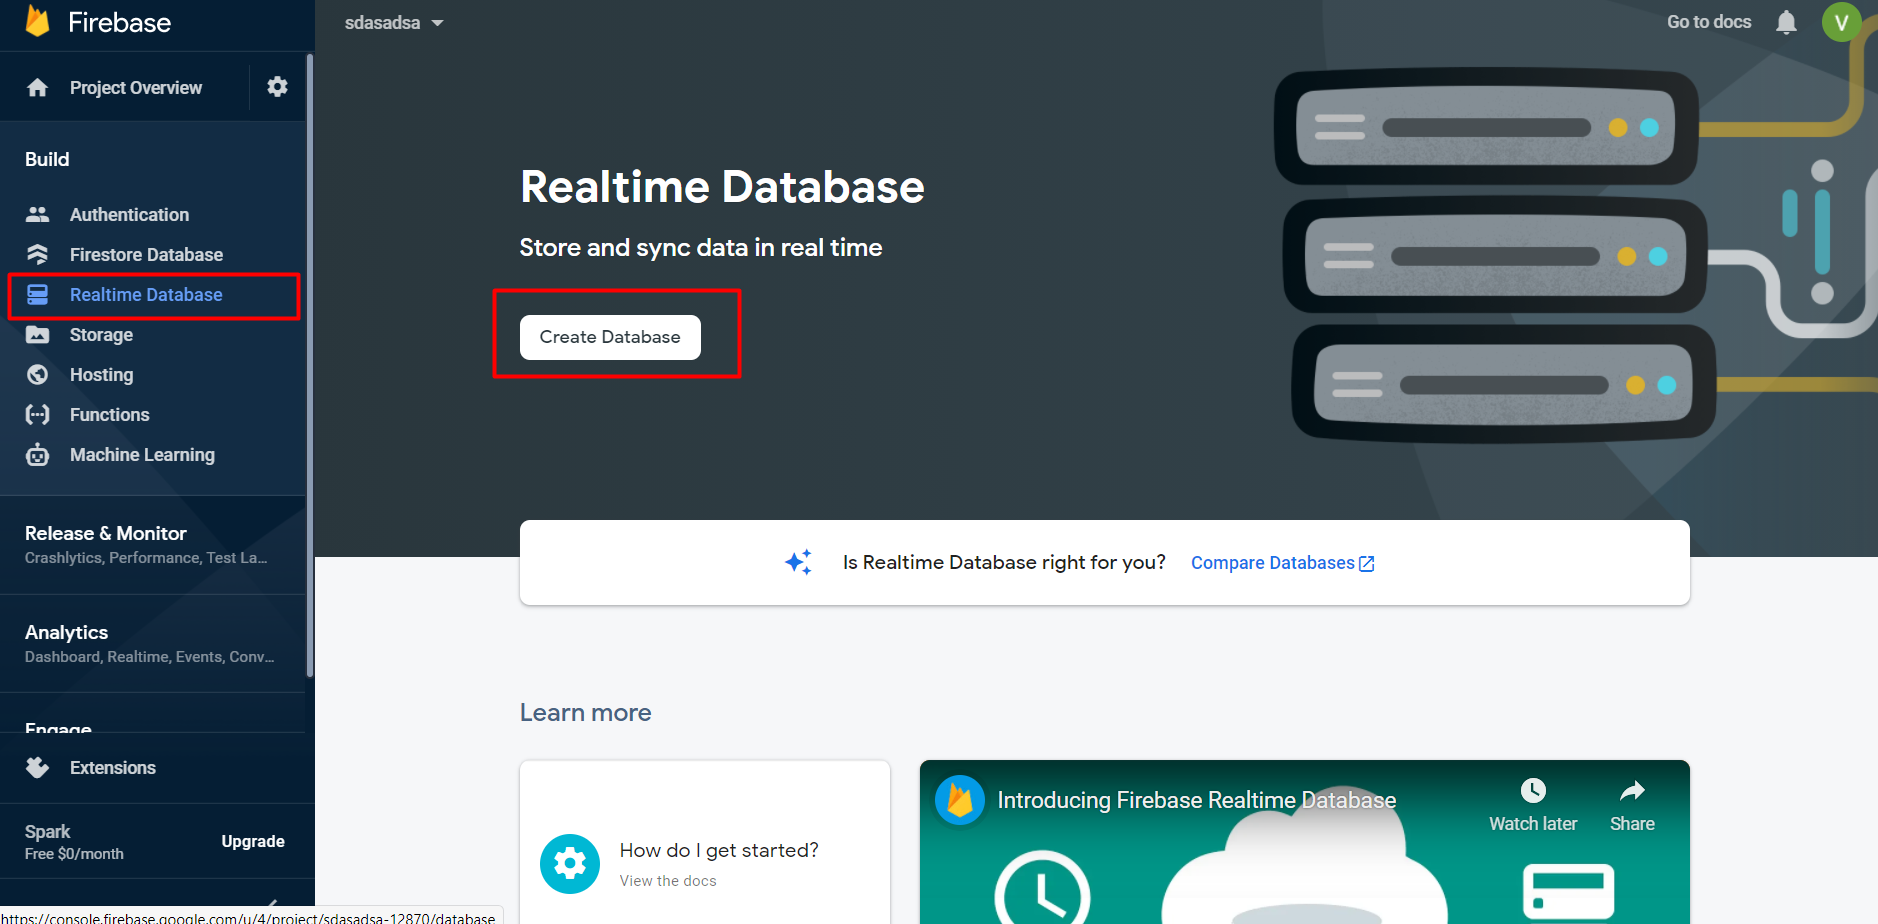
Create Firebase Database#
Next, we need to create a Firebase Realtime Database. First, go to the Realtime Database on the sidebar and click the "Create Database" button:
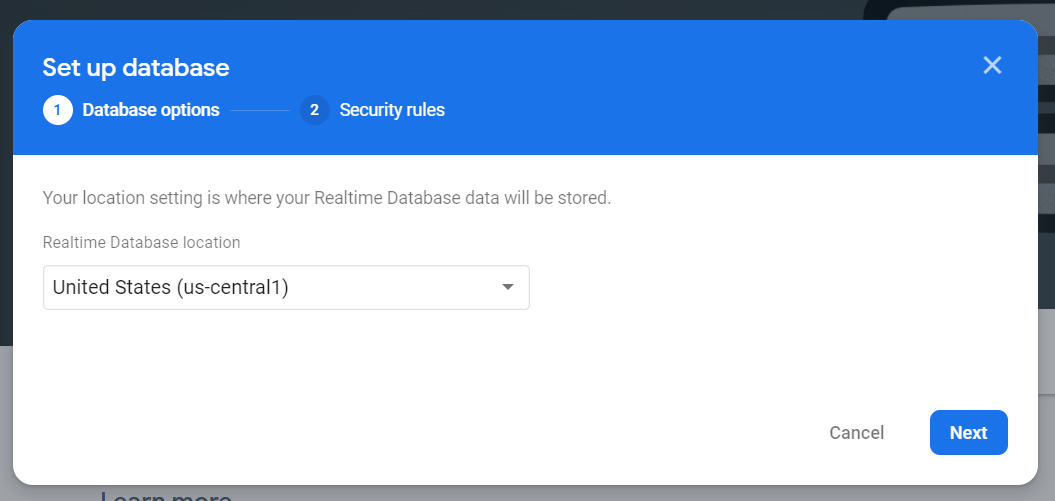
Choose your database location, you should choose the location near you:
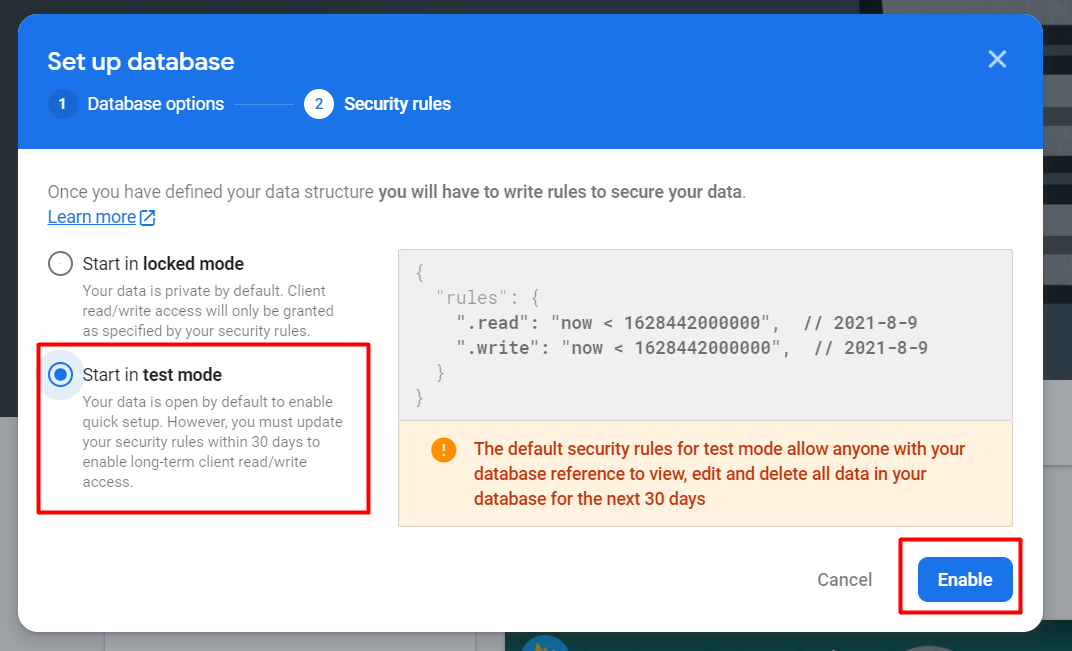
Choose the "test mode", ignore the warning, we will update the rules later:
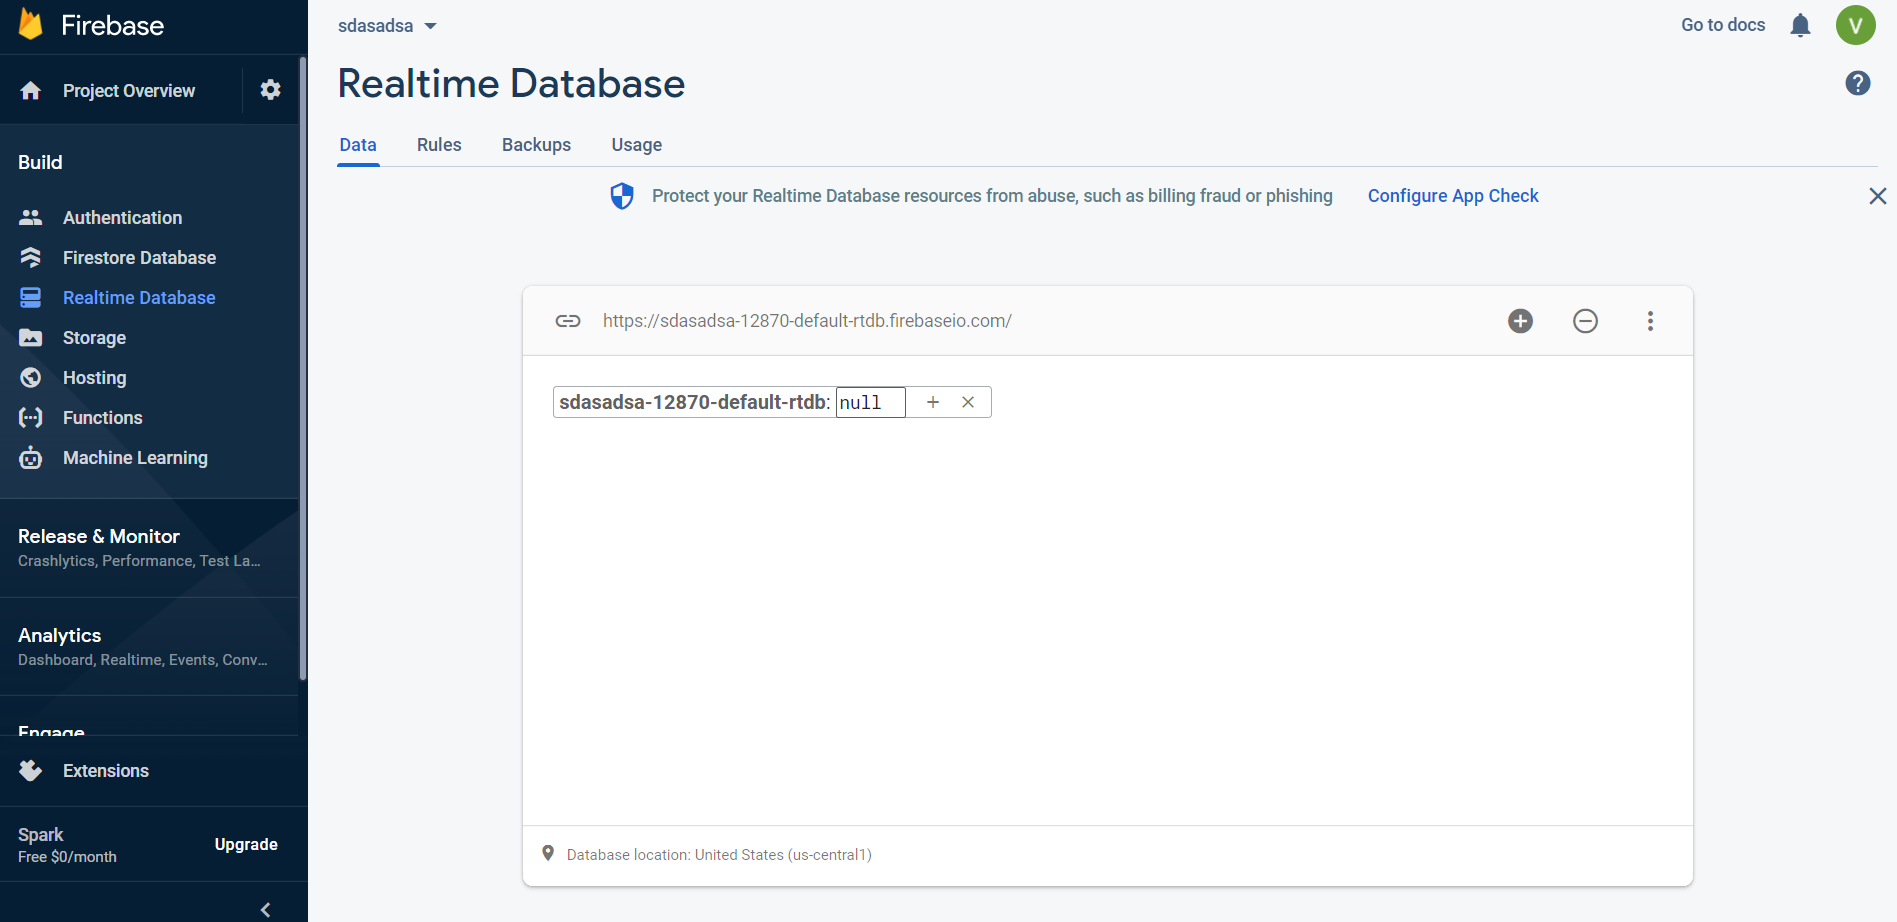
When finished, the empty database will appear like that:
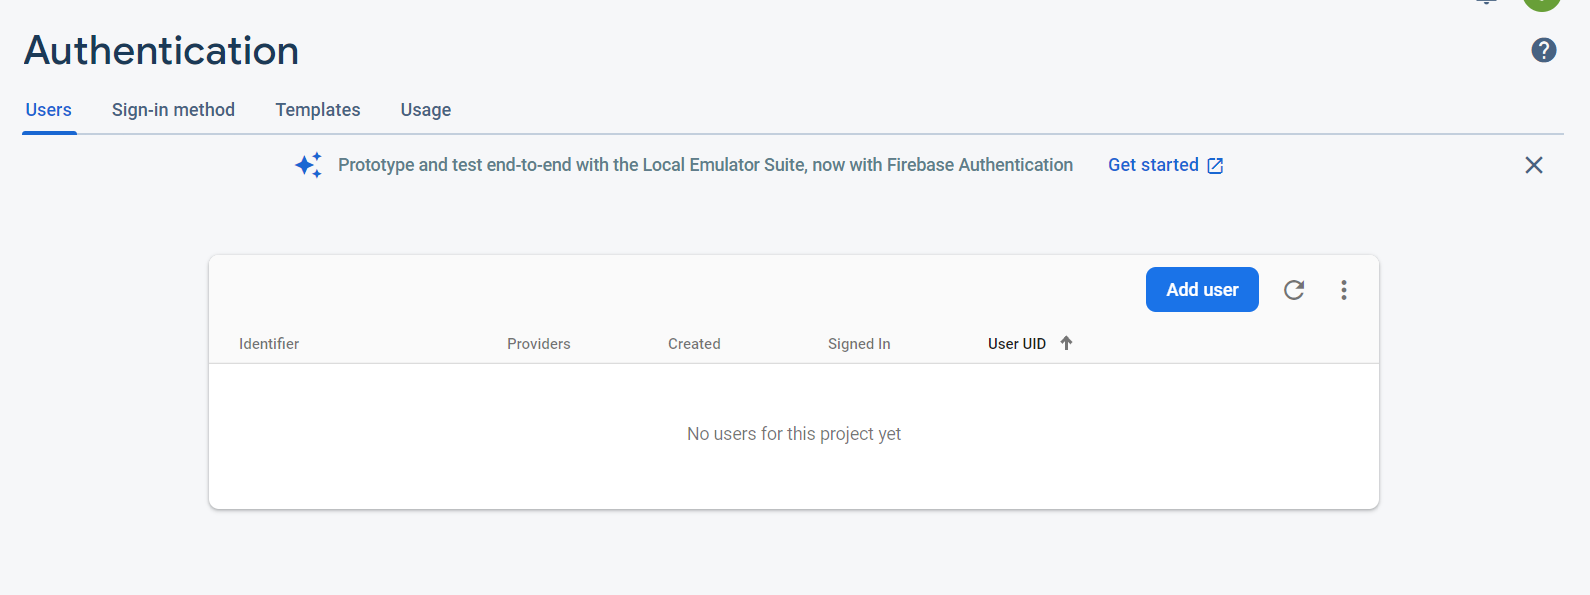
Create Firebase Authencation#
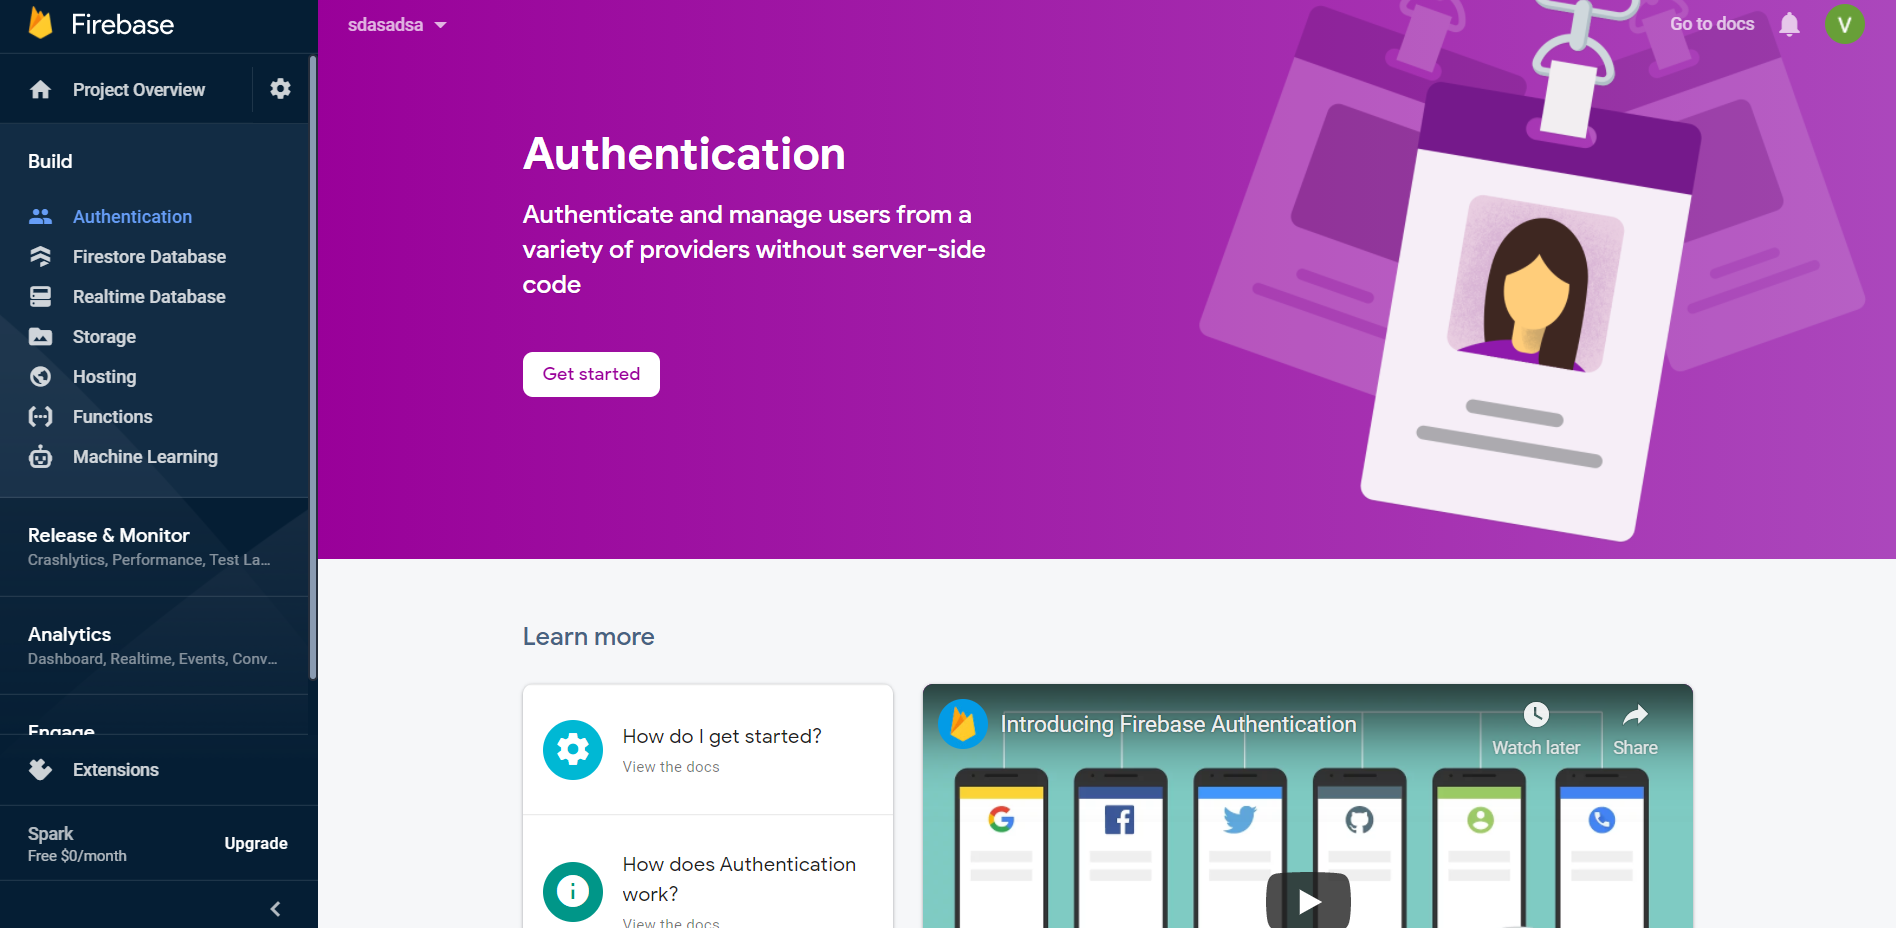
First, go to the Authencation on the sidebar and click the "Get started" button:
Enable Email/Password sign-in providers and save:
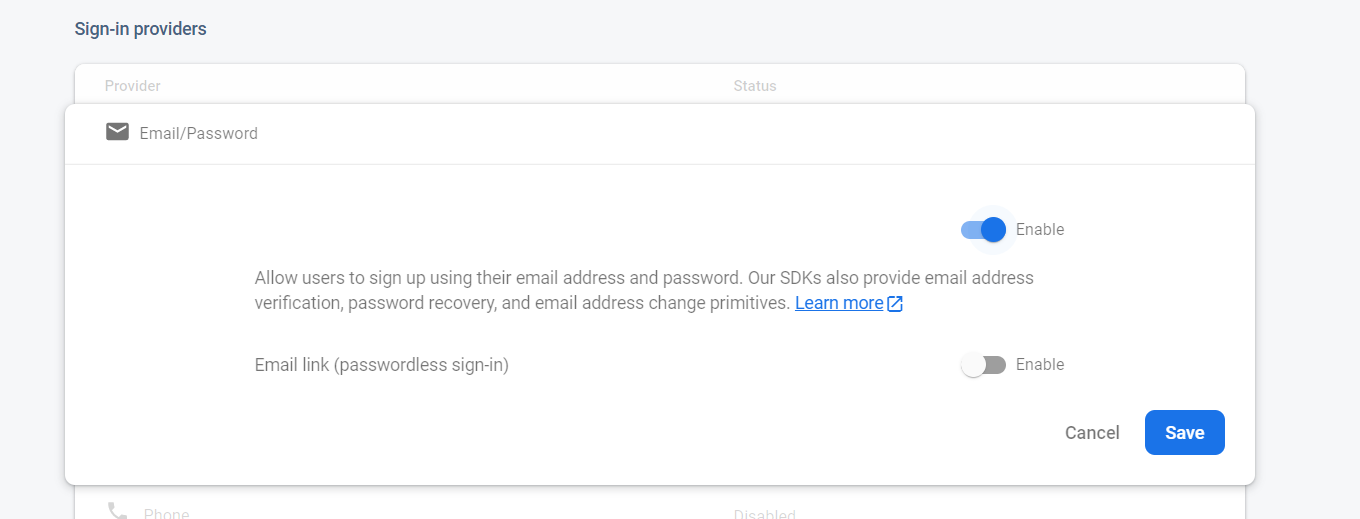
You have finished enabling the Authentication service!
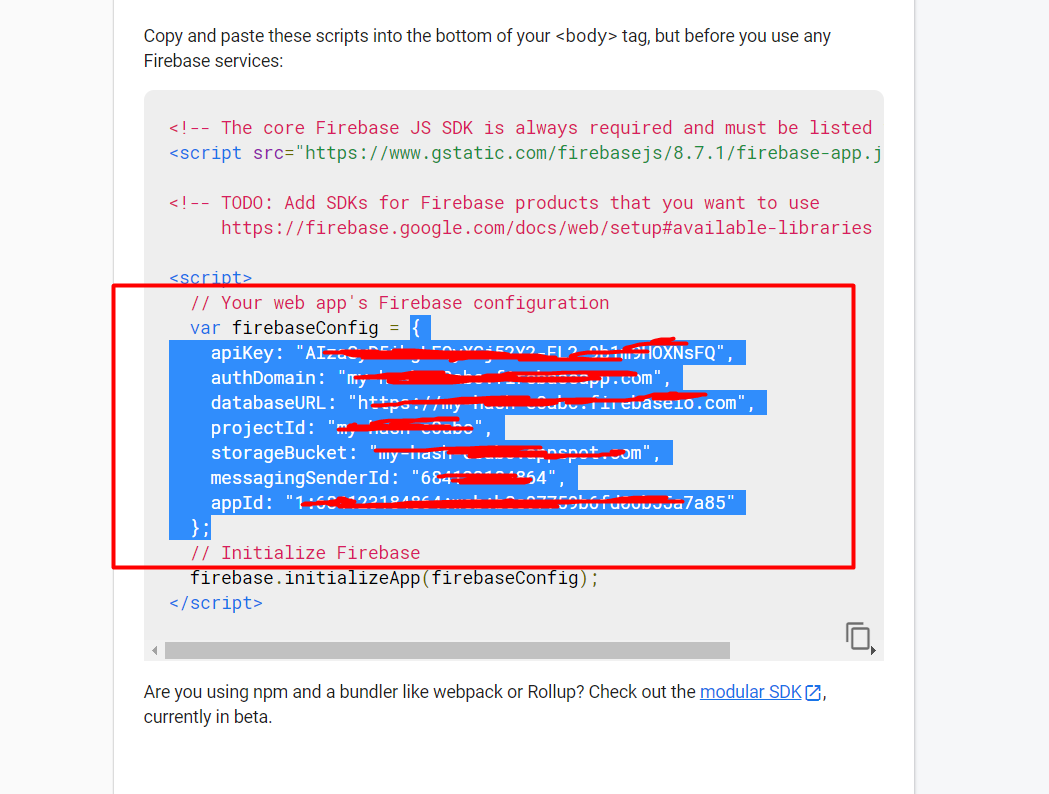
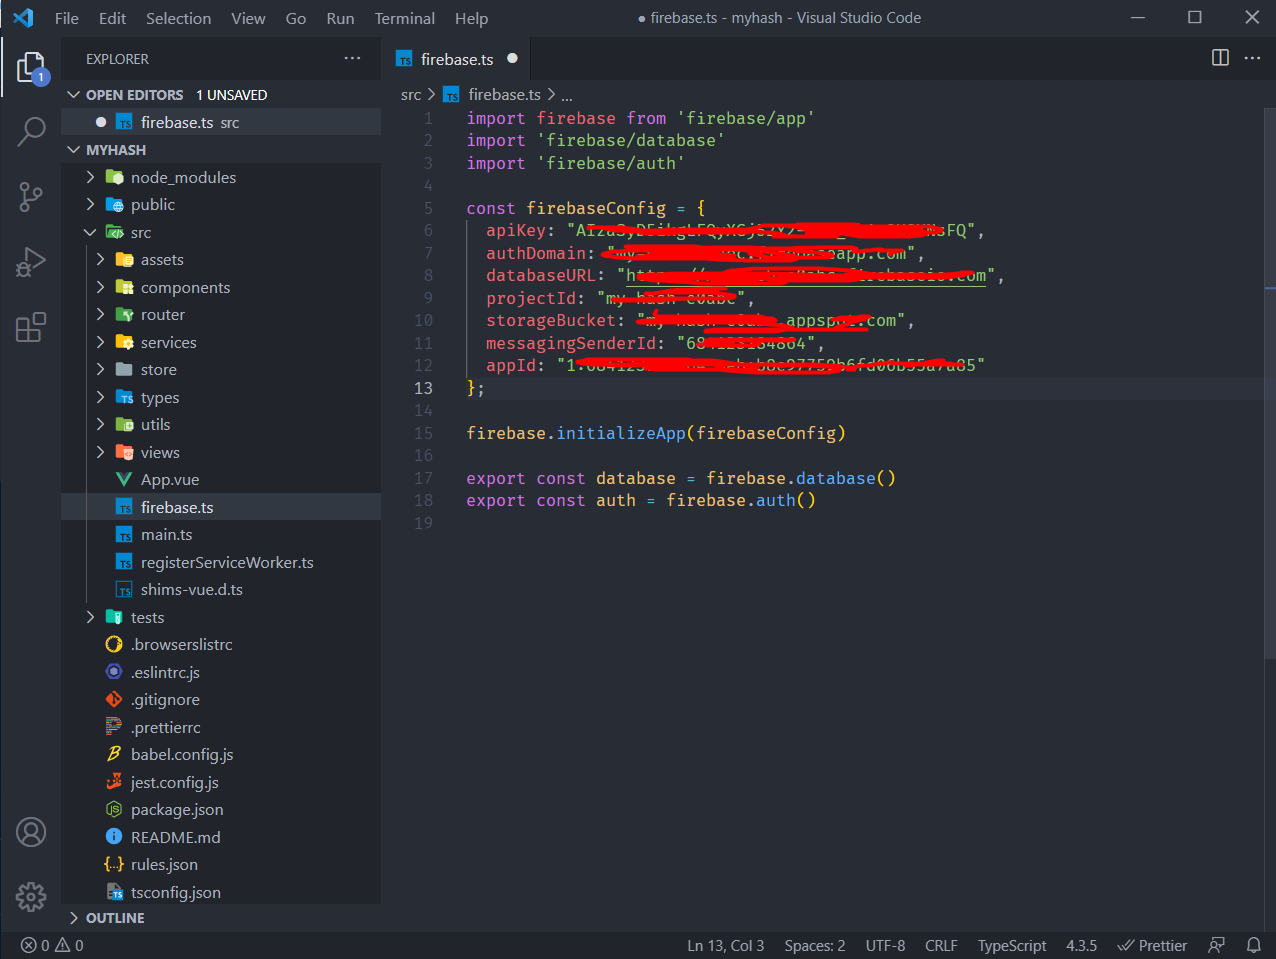
Add Firebase config#
Copy config data into the "src/firebase.ts" file:
3. Creating a production build#
You may notice that the app folder is really big (~400MB), this is not something we want to upload to the hosting.
The good news is that's not what you need to do. All you need to do is "build" it, and it's pretty simple.
First, open your terminal app (Powershell, CMD, Git Bash,...) and move to the "myhash" folder and run this following command:
../node/npm run build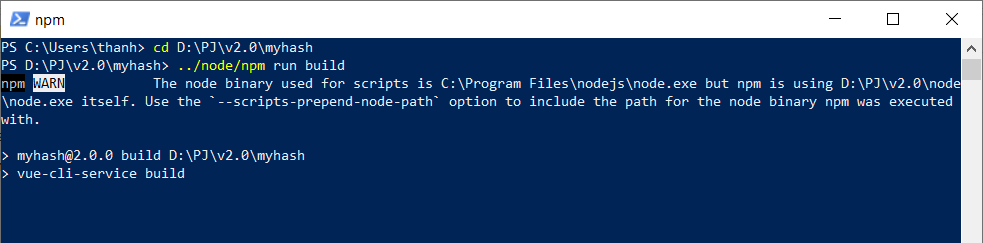
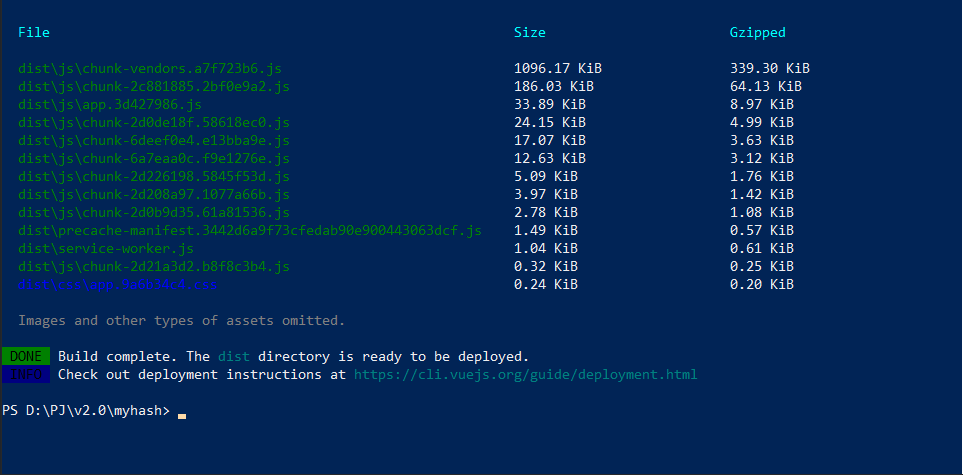
Wait a moment for the magic to appear:
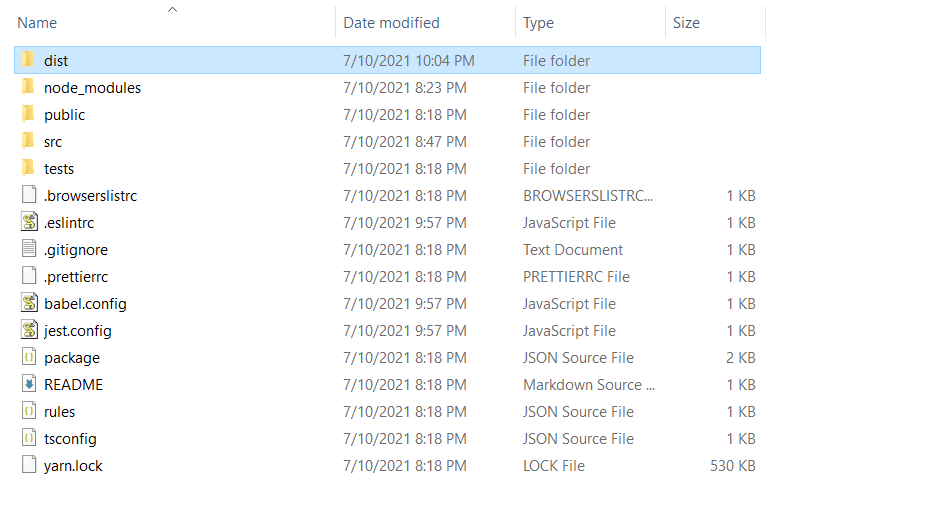
Finally, the "dist" folder will be created and you need to upload this your hosting service: